Forward head posture: how to measure it and fix it with chin tucks
Forward head posture is when your ear sits ahead of your shoulder instead of stacked over it. You can measure how far with a side-profile photo and a craniovertebral angle, and the drill that changes it is the chin tuck — a backward glide of the head, not a nod downward.
What the craniovertebral angle tells you
Draw a horizontal line through the bony bump at the base of your neck — the C7 spinous process — and a second line from that bump to the tragus, the small flap of cartilage in front of your ear canal. The angle between them is your craniovertebral angle. As the head travels forward, that second line flattens toward horizontal and the angle shrinks. Bigger number, better stacking.
Research protocols commonly put the dividing line around 48–50°, though the cutoff varies with the protocol and with marker placement. Treat it as a rough boundary, not a verdict — what matters is the trend in your own number, measured the same way every time.
The angle won't tell you why your head sits forward. Tight pecs and upper traps with weak deep neck flexors — upper crossed syndrome — is one common contributor; a monitor two inches too low is another.
How to photograph your side profile
- Mark two points. Stick a dot sticker on your tragus. For C7, drop your chin to your chest and feel for the most prominent bump at the base of your neck; extend your head back and the bump above it (C6) slides away while C7 stays put. Sticker that one.
- Level the camera. Phone on a shelf or tripod at shoulder height, 8–10 feet away, screen vertical. Shooting from above or below tilts your horizontal reference and can swing the reading by several degrees.
- Tape a credit card to the wall at shoulder height, in the same plane as your body. Any ID-1 card is 85.6 mm (3.37 in) wide, giving you a scale for converting pixels to inches.
- Reset your head. Nod fully forward and back three times, let it settle, look straight ahead. Don't pose — a posed photo measures your best posture, not the one you hold for eight hours.
Then open the shot in a protractor app: one line horizontal through the C7 dot, a second from C7 to the tragus.
Reading the number
Degrees are abstract, so pull the distance out of the same photo: measure the horizontal gap between the tragus dot and the front of your shoulder, then scale it with the credit card. An inch forward is subtle in a mirror. Three inches is the profile people photograph and don't recognize as their own.
A workable way to read the angle — an interpretation aid, not a diagnosis:
- 50° or more — ear roughly stacked over the shoulder
- 45°–49° — mild forward drift
- 40°–44° — moderate
- Below 40° — marked, with the head carried well ahead of the trunk
How to do a chin tuck correctly
The chin tuck exercise is one motion: the head slides straight back over the neck, like a drawer closing on its rails. Nothing tips.
Sit or lie tall, eyes on a fixed point at eye level, lips together and teeth slightly apart. Glide your head back until you feel a mild double chin and a gentle stretch at the base of your skull. Keep the effort light, well under maximum — the deep neck flexors are endurance muscles, and hard reps hand the job straight to the muscles you're trying to quiet. Hold, then release slowly.
If you have neck pain, headaches, dizziness, or tingling into an arm, get assessed by a clinician before you chase an angle. This is general ergonomics guidance, not treatment.
The two errors that waste the rep
Nodding instead of gliding
The most common bad rep is a nod: the chin drops toward the chest, bending the whole neck rather than the top two joints.
Mirror check: stand side-on to a mirror, or prop your phone side-on with the front camera running, and watch your eye line. If your gaze drifts toward the floor, you nodded — the ear should travel backward while the eyes stay level. A finger under your chin gives the same feedback: the chin tracks straight back, it doesn't arc down.
Clenching the jaw
The second error is recruiting everything at once — jaw locked, breath held, and the two cords at the front of the neck (the sternocleidomastoids, running from behind the ear to the collarbone) standing out.
Mirror check: face the mirror and watch those cords during the hold. If they bulge, halve your effort. For the jaw, rest your tongue on the roof of your mouth and hum quietly through the hold. If you can't hum, you're clenching or holding your breath.
The progression: supine, then seated, then standing
Gravity is the load here. Lying down removes it and standing adds it back, so chin tucks for forward head posture start on the floor and go upright only when the quality holds.
| Stage | Setup | Hold | Volume | Advance when |
|---|---|---|---|---|
| 1. Supine | On your back, knees bent, folded towel under the head so the chin isn't tipping up | 5 s, building to 10 s | 10 reps, once or twice a day | You get 10 clean 10-second holds, no SCM bulge |
| 2. Seated | Upright in a chair, feet flat, back supported | 10 s | 10 reps across 2–3 short sets a day | The last rep of the day looks like the first |
| 3. Standing | Back to a wall, heels a few inches out, back of the head lightly touching | 10 s | 10 reps, plus reps away from the wall | Quality holds with no wall behind you |
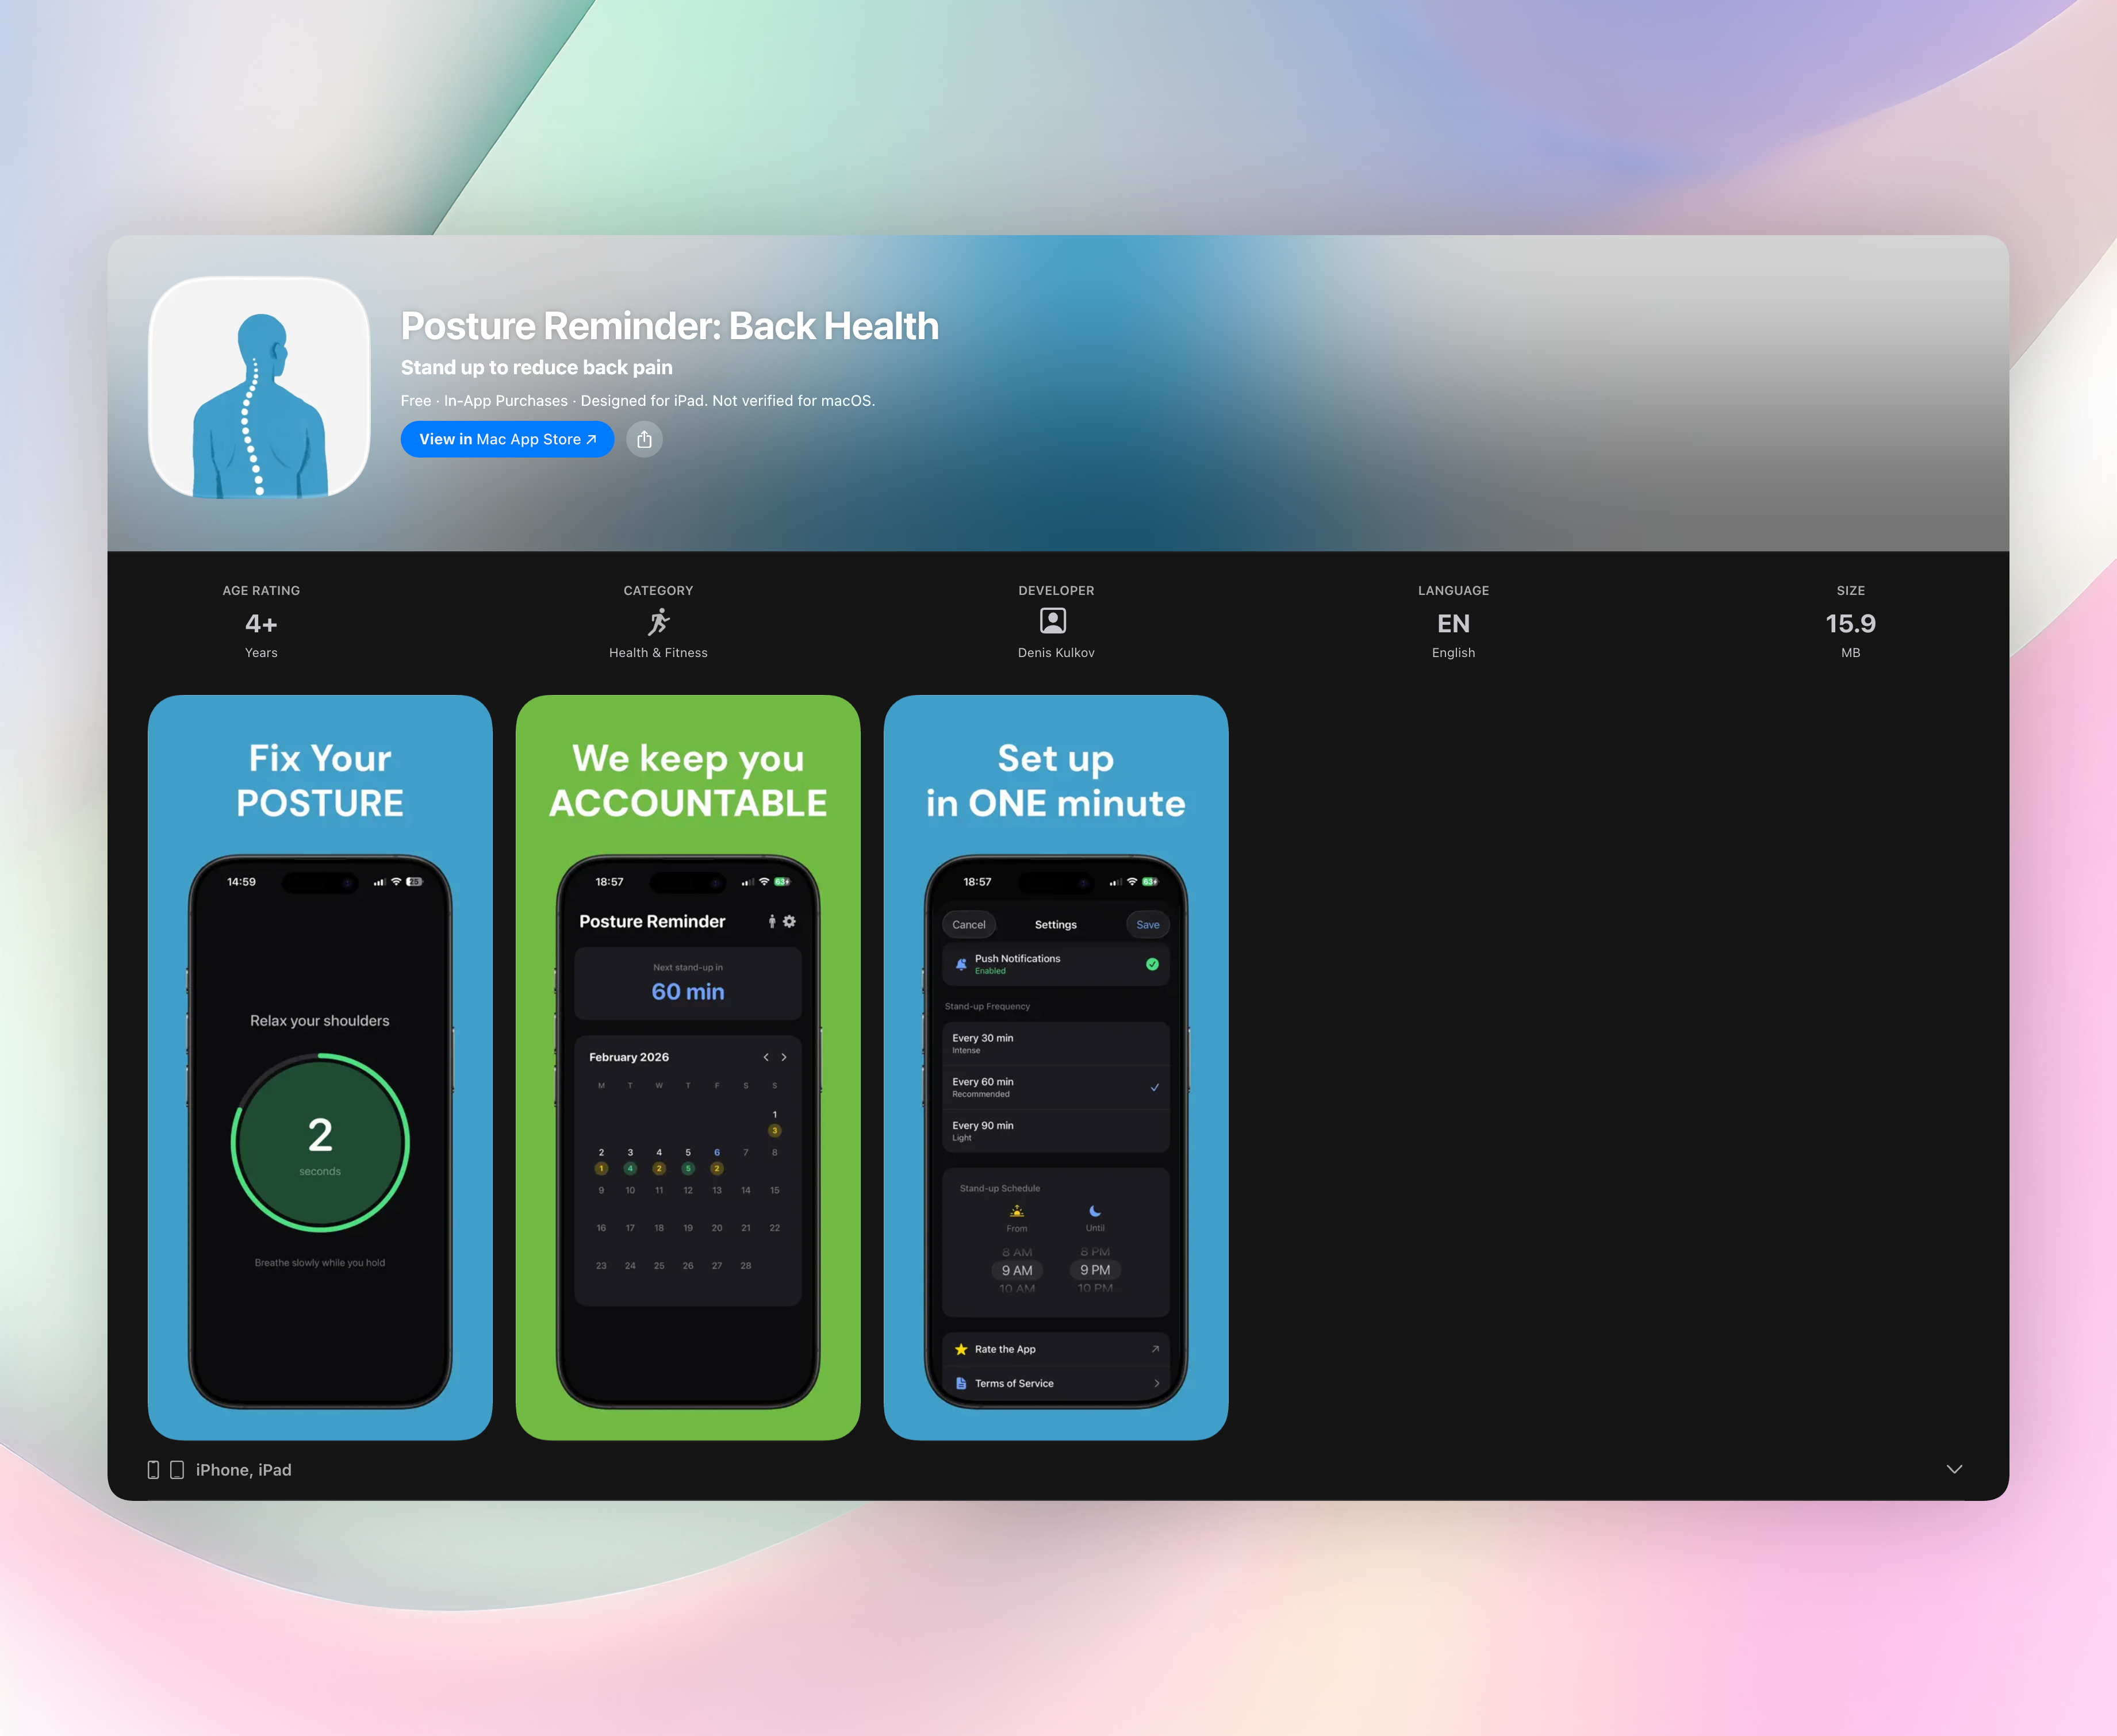
Stage 2 decides whether any of this transfers, because the seated version isn't a workout — it's something you do a handful of times across a workday, at the desk, in whatever you're wearing. That needs a cue rather than motivation, and a recurring nudge from something like Posture Reminder, a posture reminder app for iPhone and Apple Watch, beats relying on yourself to remember.
All three stages run under five minutes a day. Short, frequent sets hold up better than one long session.
What the drill won't fix on its own
Chin tucks build capacity; they don't change the eight hours pulling your head forward. Screen height is the usual culprit — top of the display at or just below eye level, about an arm's length away. A better ergonomic desk setup removes the pull at work; tech neck habits after hours matter just as much.
Re-measure your forward head posture monthly
Weekly photos mostly measure your setup. Marker placement, camera height, footwear, and time of day each move the number, and posture drifts across a workday on its own. Assume a couple of degrees of noise before you assume progress.
Same wall, same camera spot, same time of day, once a month. Several degrees of change held across two consecutive measurements is a real trend. A one-degree gain is a rounding error, and a bad month usually means your desk changed, not that the forward head posture exercises stopped working.
FAQ
How long does it take to fix forward head posture?
Endurance in the deep neck flexors changes over weeks. Your resting head position follows more slowly, and only if the daily load changes too. Monthly measurement keeps expectations sane.
How many chin tucks should I do per day?
Roughly 20–30 reps in short sets suits most people — ten in the morning, ten mid-afternoon, ten in the evening. Quality falls off fast when volume climbs, so end the set once the sternocleidomastoids take over.
Are chin tucks the best exercises for forward head posture?
They're the foundation, since they train the muscles that hold the head back over the shoulders. Most programs pair them with thoracic extension work and a chest stretch, because a rounded upper back pushes the head forward no matter how strong the neck gets.
Should a chin tuck hurt?
A mild stretch at the base of the skull is expected. Sharp pain, dizziness, or tingling down an arm is not — stop, and have a professional look at it.
Free Posture Reminder tools
- Anterior Pelvic Tilt TestThis anterior pelvic tilt test turns standing side-view observations into a simple posture score and neutral-position cues. It is a non-diagnostic screen, not a clinical assessment.
- Desk Chair Height CalculatorEstimate a desk chair height range from your height and desk height, then check whether your current chair supports a workable seated posture.
- Forward Head Posture CheckerUse a side-profile photo to estimate your craniovertebral angle with two clicks. This posture checker is a rough self-check, not a diagnosis.
- Monitor Height Ergonomics CalculatorEnter your seated eye height, monitor height, screen height and viewing distance to compare your setup with monitor height ergonomics targets.
- Posture Assessment ScoreAnswer a few desk posture questions, add your seated minutes and breaks, and get a non-diagnostic score with the highest-impact setup habits to review.
- Proper Sitting Posture at Desk CheckerCompare your desk, chair and monitor dimensions with height-scaled targets for a practical 90-90-90 sitting setup.
- Standing Desk Converter PlannerPlan a conversion standing desk setup from your body height, current desk, monitors and laptop. Get the converter lift, minimum surface width and estimated load.
- Standing Desk Height CalculatorEstimate a comfortable starting height for your standing desk, monitor, chair and screen viewing distance. Enter your body height and shoe heel height in centimetres or inches.
- Standing Desk TimerSet a sit/stand pattern and work-block length, then follow a live countdown with the next switch time, full schedule and sitting and standing totals.
- Wall Test Posture CheckUse a wall test for posture to record four contact findings and two gap measurements. Get a rough posture score, plain-language suggestions and the finding to address first.
- Workspace Ergonomics CalculatorUse an ergonomics calculator to set a desk or keyboard height, seat height, monitor top and viewing distance for seated or standing work.